I remember the frustration hitting me one busy Saturday morning. I had just finished tamping my coffee puck, confident I was about to pull a perfect shot. But as I lifted my tamper, I noticed it was stuck—hard. The puck was uneven, air gaps forming like tiny craters, ruining the shot and wasting precious beans. That lightbulb moment hit me hard: I needed a better way to ensure my tamping was consistent and airtight.
Why Puck Air Gaps Sabotage Your Espresso Quality
Facing Skepticism: Are Grooved Tampers Really Worth It?
Align Your Tamp Every Time
Start by ensuring your tamper is perfectly aligned with the coffee bed. Place the tamper flat on the puck, then press down gently to check for any tilt. During my messy first attempt, I tilted the tamper slightly, and I noticed uneven pressure causing air pockets. To fix this, I practiced by placing the tamper perfectly level, visualizing a straight line across the puck. This simple check dramatically improved puck density and eliminated air gaps.
Apply Controlled, Even Pressure
Use a consistent force—about 30 pounds—without pressing too hard or too softly. A handy trick I adopted is to count in my head: press slowly while counting to three, then release. I once tried to rush, pressing aggressively, which led to uneven tamping. Practicing controlled pressure created uniform resistance, compacted the grounds evenly, and reduced puck air gaps. Consider using a micro-scale or weight-based tamper for precision, and tweak your pressure until it feels natural. For more tools that support consistency, check this guide on barista accessories.
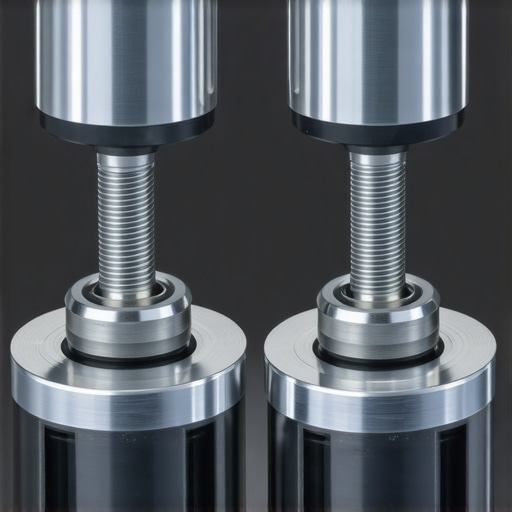
Leverage Grooved Tampers for Air Channeling
Opt for a tamper with a grooved base. The channels help escape trapped air and excess coffee particles, resulting in a more uniform puck. I switched to a grooved tamper when I struggled with stubborn air gaps despite proper technique. After I used it, I noticed the puck was noticeably denser, and shots flowed evenly with consistent extraction. To choose the best grooved tamper for your setup, explore options like impact-absorbing grooved tampers.
Practice with a Surface Focus
Set up a mirror or a small camera above your workspace to check your tamping angle visually. During a particular Saturday, I used a smartphone with a macro lens to record my tamping. I discovered I was unintentionally tilting the tamper due to wrist angle tension. By consciously keeping my wrist straight and applying pressure directly downward, I produced a more even puck. This low-tech feedback loop is invaluable for honing your technique and preventing air gaps.
For the best results, consider using a dedicated barista mat to stabilize your station and prevent slipped moves. Read tips on maintaining your tools for optimal performance.
Nail the Tamping Sequence
Create a consistent routine: dose your coffee, distribute evenly, and then tamp with your chosen method. I once skipped distributing grounds, leading to uneven puck density and air gaps. By carefully leveling the coffee with a distribution tool before tamping, I achieved uniform height and density, minimizing air pockets and ensuring better shot quality. Incorporate timed steps or a checklist to reinforce routine consistency. For advanced prep, learn about weighted handling techniques.
Final Tips to Keep It Tight
Clean your tampers regularly to avoid residual grounds that interfere with pressure. A dirty tamp can cause uneven compression and trap air. Also, experiment with different coffee grind sizes—they directly influence how well tamping works. When I adjusted from a medium to fine grind, I noticed smoother flow and fewer air pockets. Use a quality coffee scale, like those discussed here, to monitor the dose and consistency. Remember, persistence in refining your tamping process will lead to uniformly dense pucks and better espresso shots.Many passionate home baristas and even some professionals often fall into misconceptions about essential accessories like milk pitchers, knock boxes, espresso tampers, and coffee scales. Let’s dig deeper beyond the basics and uncover some nuanced truths that can elevate your craft.
Why Most People Underestimate the Power of a Properly Maintained Milk Pitcher
Knock Boxes: Not Just for Speed, But for Hygiene and Longevity
Espresso Tamper Choices: Heavy is Not Always Better
Why Your Coffee Scale Might Be Deceiving You
Keep Your Equipment in Prime Condition for Consistent Results
Having the right tools is just half the battle; maintaining them ensures they perform flawlessly shot after shot. Personally, I swear by regularly checking and calibrating my coffee scale using the zero-point calibration method recommended by industry experts. A well-calibrated scale prevents dose inconsistencies that can lead to puck failure or uneven extraction, especially crucial as I push towards more precise recipes. Performing this simple check monthly has dramatically improved my shot consistency and keeps me ahead of potential drift issues, which are common in 2026 models due to wireless interference or environmental factors. To keep your scale accurate over time, consider installing anti-static covers and shielding it from nearby electronic devices; these small adjustments go a long way in ensuring precision.
How do I maintain my coffee accessories for long-term excellence?
For gear like milk pitchers, regular cleaning with non-abrasive materials and nano-coatings prevents residue buildup and micro-scratches that can affect pour control. I particularly rely on Teflon-free pitchers with nano-textured surfaces, which resist milk sticking and simplify cleaning. The same care applies to knock boxes; using antimicrobial liners and cleaning after each session prevents bacteria and prolongs device lifespan. This diligent maintenance not only preserves your equipment’s aesthetics but also guarantees consistent performance, essential for balancing aesthetics and taste.
Tools I Recommend for Coffee Precision and Ease
When it comes to tampers, I prefer impact-absorbing tampers with titanium cores. They reduce wrist fatigue and prevent puck edge cracking, a common issue with standard heavy tampers. For those seeking ultimate control, a narrow-spouted pitcher helps in crafting intricate latte art, especially when combined with laser-etched spouts that channel milk with precision, as highlighted in recent innovations. Additionally, a dedicated angled-base coffee scale eliminates parallax errors, enabling me to measure doses accurately, especially when dialing in new beans. Coupled with regular calibration, these tools form the backbone of my routine to deliver consistently excellent espresso shots.
What’s the Future for Maintenance of Barista Equipment?
Looking ahead, I predict smarter, self-calibrating tools will dominate the scene, minimizing manual upkeep. Embedded diagnostics in scales and tampers could alert users to performance drops before issues become apparent, much like the advances seen in other precision instruments. Until then, diligent manual maintenance remains essential. Implementing advanced cleaning protocols, such as ultrasonic cleaners for portafilters and nano-coatings for pitchers, will become more commonplace, ensuring long-term reliability and optimal espresso extraction.
If you’re serious about elevating your craft, I recommend trying the advanced zero-point calibration for your coffee scale. This simple step can dramatically improve your dose accuracy, making every shot count. For detailed instructions, consult this guide.